Running Open Liberty on Amazon Elastic Container Service with AWS Fargate


Pay-as you-go serverless applications can rapidly scale according to workload with minimal resource costs. Amazon Elastic Container Service (Amazon ECS) with AWS Fargate, a Container as a Service (CaaS) offering, provides a fully-managed container orchestration service to help you easily deploy, manage, and scale containerized applications in a serverless manner. This post describes how to run serverless MicroProfile applications in Amazon ECS in just 10 steps:
Deploying an Open Liberty Container to Amazon ECS
Step 1: Ensure you have the correct pre-requisites
To run a MicroProfile application on Amazon ECS, we need to be able to create AWS resources and have an application to run. Ensure you have the following prerequisites:
Step 2: Ensure you have a suitable containerized application
If you don’t already have a MicroProfile application, you can use the application provided in the finish directory of the Open Liberty Getting Started guide. A publicly accessible copy of the containerized application is available from: icr.io/appcafe/open-liberty/samples/getting-started.
Step 3: Upload the container to a registry
Upload the guide-getting-started image (or your own containerized application) to an internet accessible container registry. Amazon ECS supports a range of container registries outlined in their Image Registry requirements. As this blog requires an AWS account, you most likely already have access to Amazon ECR to act as your registry. To upload the image, use the Get Started instructions for Amazon ECR.
Step 4: Create your Amazon ECS Cluster
To create your Amazon ECS cluster, follow step 1 in Getting started with the console using Linux containers on AWS Fargate.
Step 5: Create your Task Definition using JSON
Amazon ECS runs services or jobs, using task definitions to define the runtime configuration for the task. Task definitions define the following properties:
-
container image URL
-
CPU & memory
-
port mappings
-
environment variables
-
compatibilities.
The values of these properties cannot be overridden by the service or job definition that executes said task definition. For example, if the same task definition is used in development and production deployments, then they use the same amount of CPU. As such, it is recommended that you define separate task definitions for each environment.
You can create a task definition using the UI or by uploading a JSON file. For this post, the JSON is provided in the following example. To apply this example, create a new task definition follow Step 2 in Getting started with the console using Linux containers on AWS Fargate. Before applying, ensure that the logConfiguration.options.awslogs-region setting matches the region you are planning on deploying into.
{
    "family": "ol-getting-started-blog",
    "containerDefinitions": [
        {
            "name": "open-liberty-getting-started",
            "image": "icr.io/appcafe/open-liberty/samples/getting-started",
            "cpu": 512,
            "memory": 1024,
            "portMappings": [
                {
                    "name": "liberty-getting-started-80-tcp",
                    "containerPort": 80,
                    "hostPort": 80,
                    "protocol": "tcp",
                    "appProtocol": "http"
                },
                {
                    "name": "liberty-getting-started-443-tcp",
                    "containerPort": 443,
                    "hostPort": 443,
                    "protocol": "tcp",
                    "appProtocol": "http"
                }
            ],
            "essential": true,
            "environment": [
                {
                    "name": "default.http.port",
                    "value": "80"
                },
                {
                    "name": "default.https.port",
                    "value": "443"
                }
            ],
            "environmentFiles": [],
            "mountPoints": [],
            "volumesFrom": [],
            "logConfiguration": {
                "logDriver": "awslogs",
                "options": {
                    "awslogs-create-group": "true",
                    "awslogs-group": "/ecs/ol-getting-started-demo",
                    "awslogs-region": "us-east-1",
                    "awslogs-stream-prefix": "ecs"
                }
            }
        }
    ],
    "executionRoleArn": "",
    "networkMode": "awsvpc",
    "requiresCompatibilities": [
        "FARGATE"
    ],
    "cpu": "512",
    "memory": "1024",
    "runtimePlatform": {
        "cpuArchitecture": "X86_64",
        "operatingSystemFamily": "LINUX"
    }
}
The provided JSON helps to highlight key aspects that are important when defining task definitions. By default, Open Liberty exposes ports 9080 and 9443 for HTTP and HTTPS traffic respectively. The server.xml exposes two variables that allow the overriding of the default port values: default.http.port and default.https.port. By setting the environment variables to 80 and 443 respectively, the service is exposed on those ports instead.
Now that we have a task definition set up, the next step is to create a service that uses this definition.
Step 6: Create the service
For the purposes of this blog you’ll create a service that uses HTTP.
-
In the Amazon ECS Service, under Clusters, select the cluster you created earlier.
-
Under the Services tab for this cluster, click Create.
-
Under Environment, update Compute Options from
Capacity provider strategytoLaunch Typeand ensure Launch Type isFargate. -
Under Deployment Configuration, set the value for Family to the task definition created earlier, provide the service a name (e.g.
ol-getting-started-service-1) and set the desired count to0. This setting prevents the immediate starting of the service until you are ready. -
Under Networking, leave VPC and subnets as is. Select Create a new security group and within this set the type to
HTTPand set the source toAnywhere. -
Under Load Balancing:
-
Set Load balancer type to
Application Load Balancer. -
Select Create a new load balancer.
-
Provide a name and check that the mapping corresponds to the HTTP port for the task definition.
-
Select Create a new listener and within this set the Listener to port 80.
-
Select Create a new target group and update the Health check path` to use
/health. The/healthendpoint is provided by MicroProfile Health and is ideal for reporting health in containerized deployments.
-
-
Click Create.
Step 7: Start the service
Now that the service is created with its required assets and the security group is updated so that we can communicate with it, we can start it. To start the service, we need to update it by changing the value of Desired tasks to 1. Remember to click Save when you change this setting. This starts an instance of our container in ECS. Once it has reported as running and healthy, we can look at how to access it.
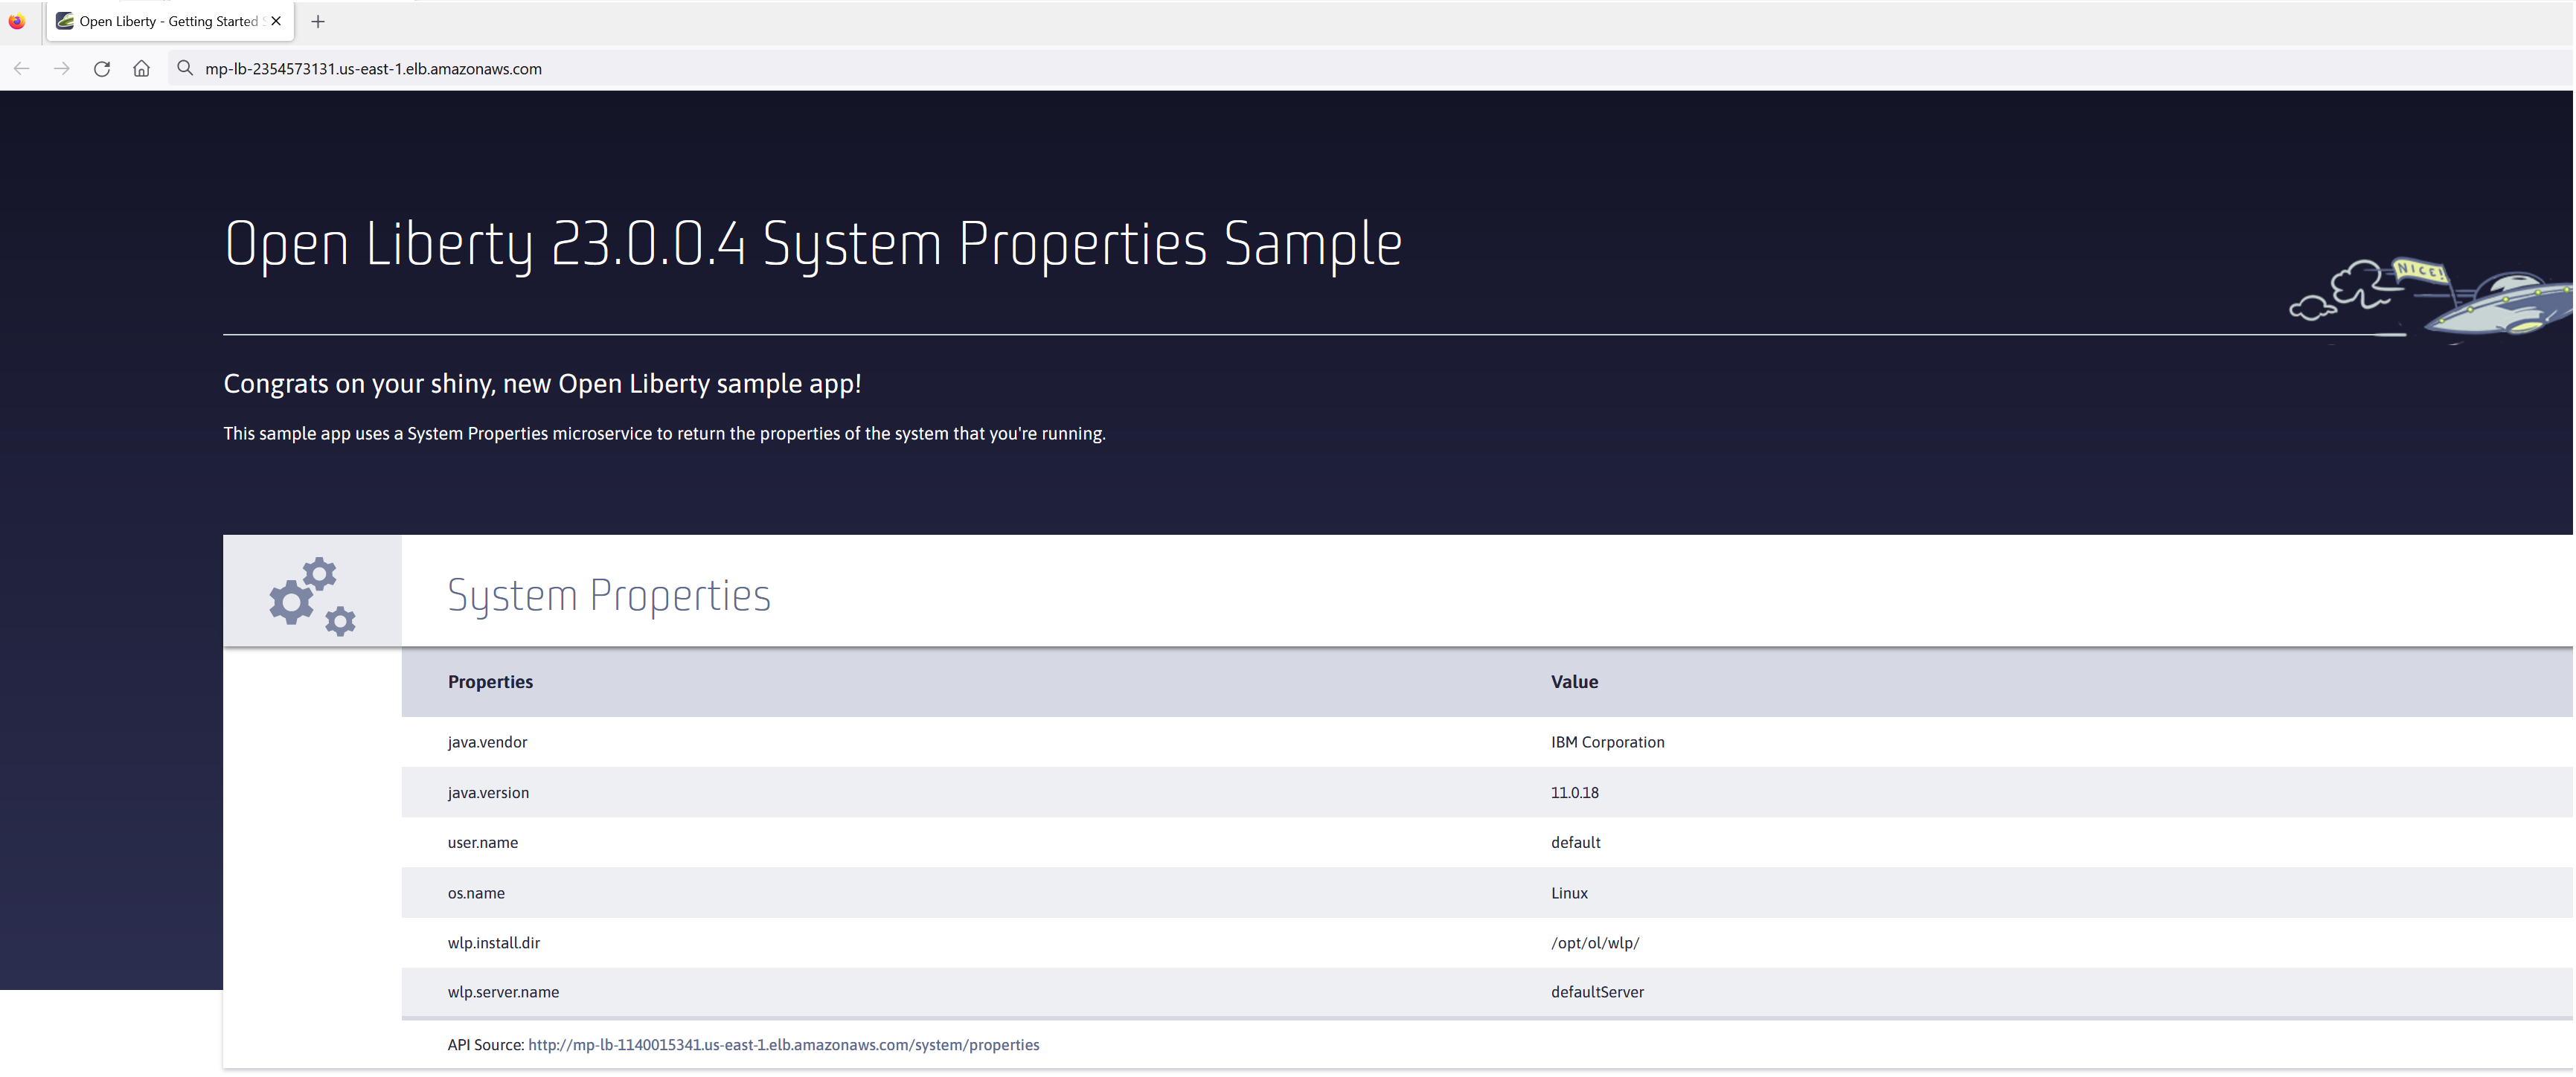
Step 8: Access the service
With the service now running, we can start to make requests against it. The first step = is to get the DNS name for the Load Balancer, which we can get either from the load balancer itself or from the target service. In this post, to keep things simple, we’re going to go back to our service to get the DNS name.
To obtain the DNS name of your Load Balancer from the service, navigate back to your cluster and select your service. Click the Networking tab and either copy or click open address.
Note: If you have exposed the service on the non-protocol port, you must add the port to the URL.
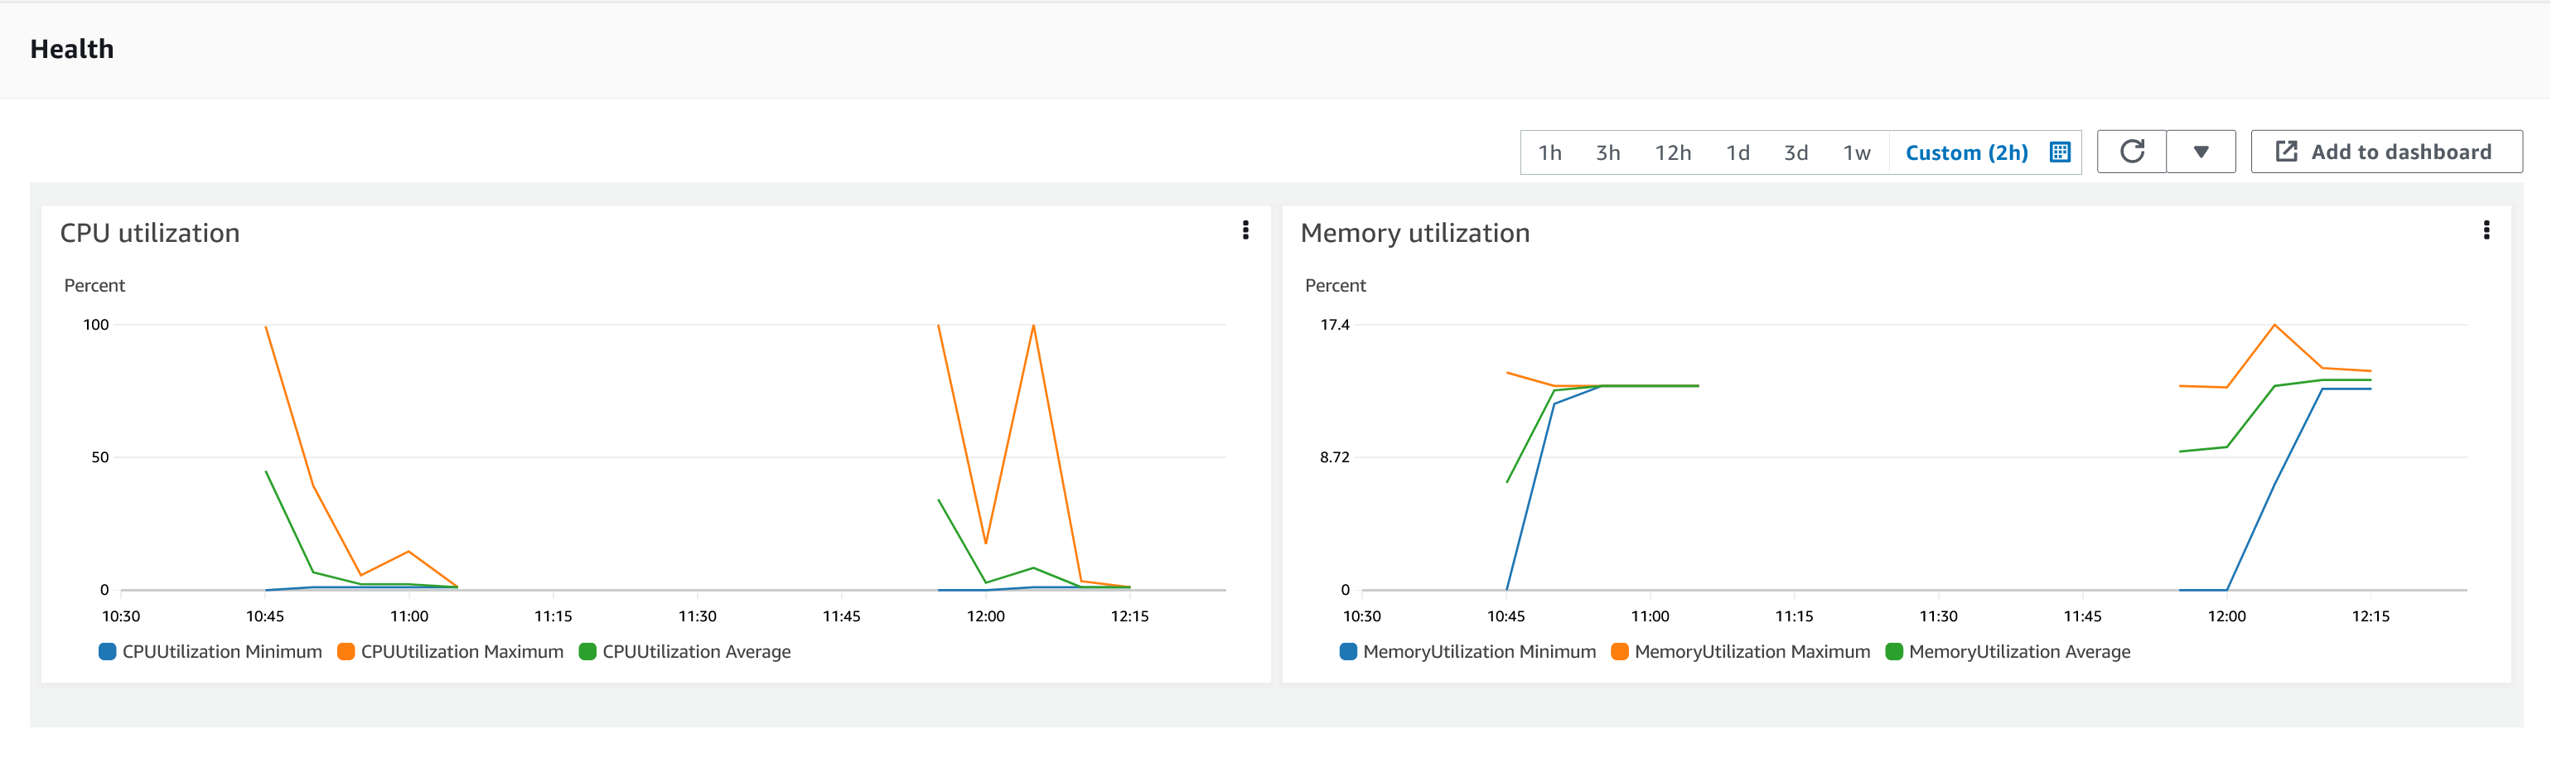
Step 9: Monitor the service
With the service started, we can start to monitor it using the Amazon ECS tooling and Amazon CloudWatch. This monitoring data can help enable effective autoscaling that is such a critical component of serverless applications, enabling more efficient resource usage and lower costs.
For CPU and memory usage, we can access the service definition to see this usage.
Step 10: Scale the application via auto-scaling policies
To enable autoscaling, set up scaling policies that can use various metrics to determine whether to scale applications in or out, including metrics collected through monitoring, as we covered previously. A common metric that is used to scale HTTP serverless applications is the number of requests that a service receives over a period of time. This metric is referred to as Application Load Balancer (ALB) requests, and this is what we’ll be using for our example application.
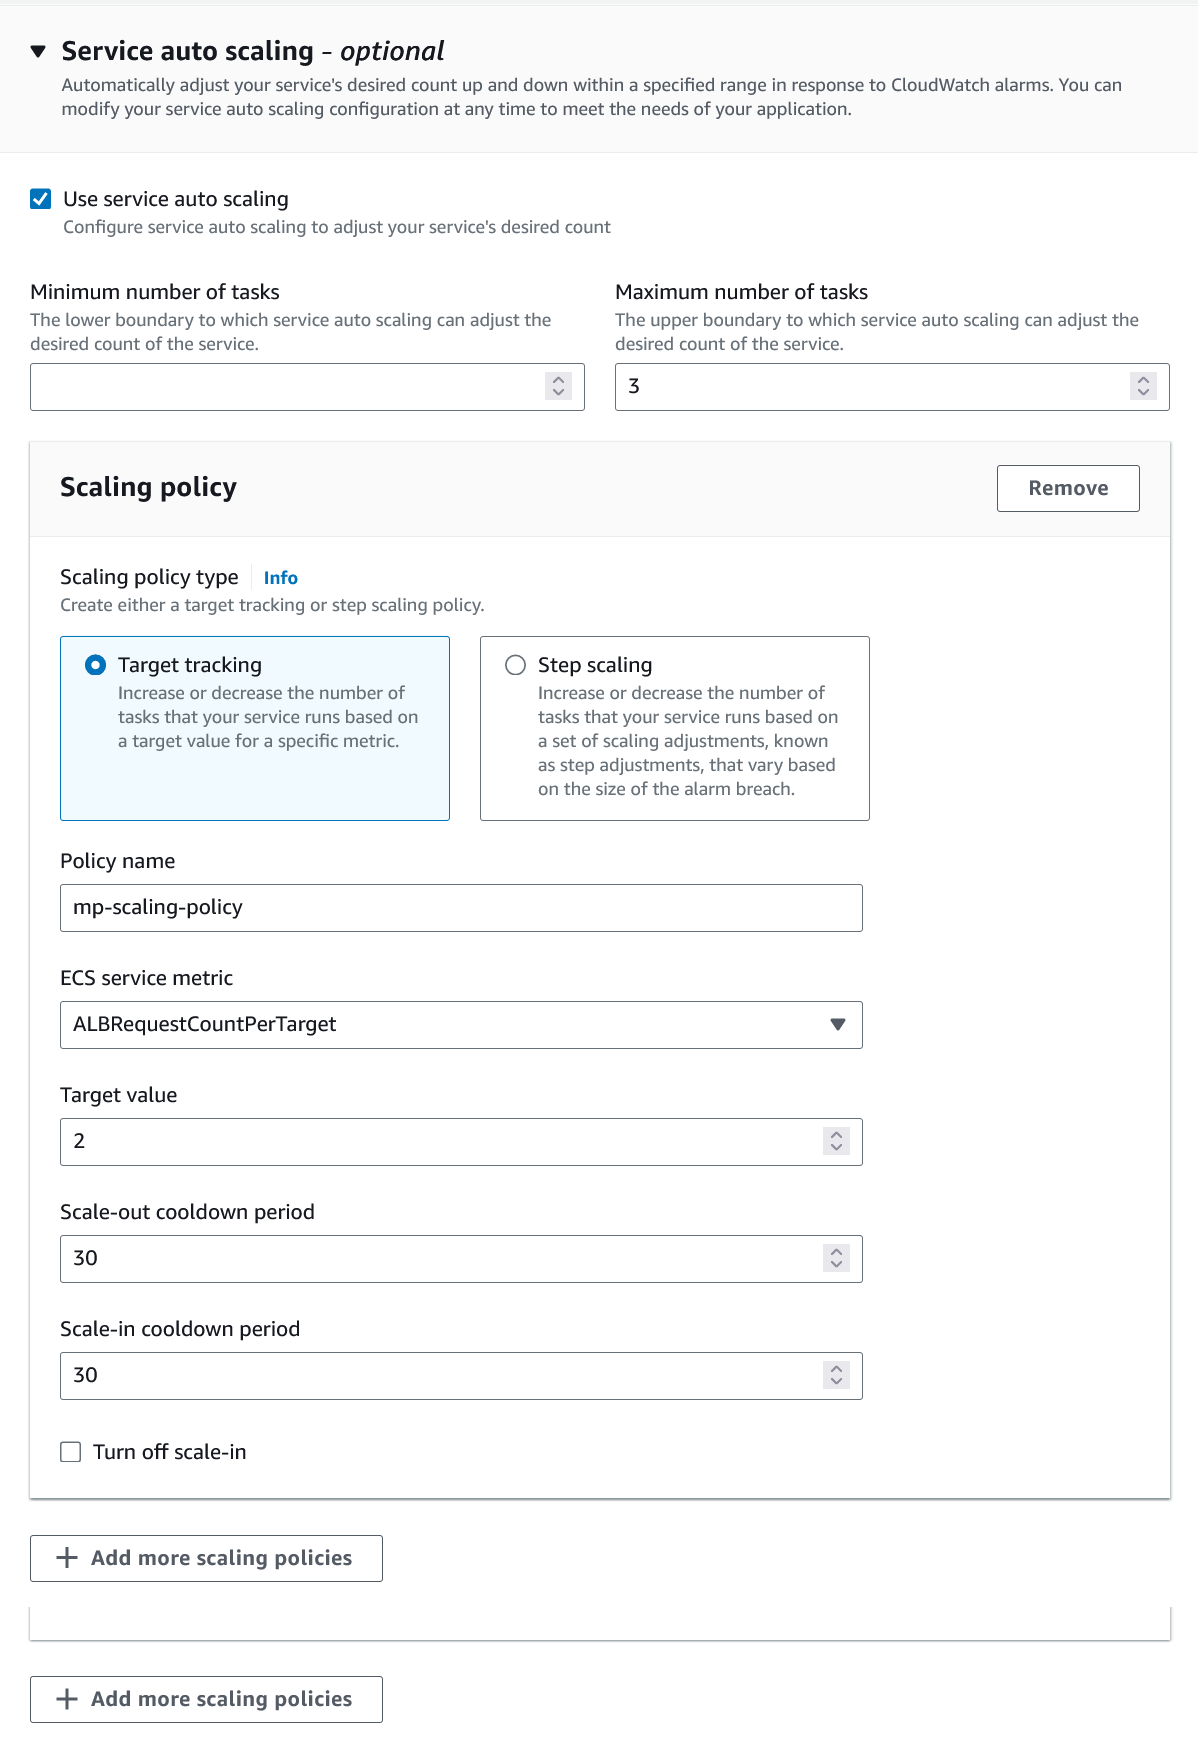
To create an ALB request scaling policy, you can edit the instances scaling policy. Revisit your cluster and select your service. Then select Update service and set the Desired tasks to 1. Expand Service auto scaling and you’ll be presented with a form like the one in the following diagram .
In this form:
-
Set the minimum number of tasks to
1and the maximum to2. -
Click + Add scaling policy.
-
Give your policy a name, e.g.
mp-sp. -
Set the ECS service metric to
ALBRequestCountPerTarget. -
Set the Target value to
2. -
Set both the Scale out cooldown period` and Scale in cooldown period to
30. -
Click Update.
The target value is set to a very low value so that it is easier to cause an alarm to trigger and create new instances. Ensure this value is scoped to the requirements of the application and also that the amount of other resources provided are capable of handling that type of workload.
Having created our policy, we can now test it by attempting to trigger the alarm and cause our service to increase the number of instances available. As our alarm is focused on requests against the ALB, to test it we should invoke our application URL to generate some traffic. Given our alarm requires 3 datapoints above our target threshold in a given period, we just need to invoke it 3 times in the period being measured. After the trigger has been activated, you will see the number of instances scale out, showing that autoscaling is working as expected.

You have now run and scaled your own MicroProfile Application on Amazon ECS with AWS Fargate!
Summary:
Through this post, you’ve gained an understanding of the steps to take a MicroProfile application running with Open Liberty and effectively scale it with Amazon ECS with AWS Fargate. Continue your learning by checking out some of the following resources.


