
Liberty Tools for Eclipse provides a new experience for developing applications with Open Liberty. This early release supports editing Liberty server.xml configuration, developing MicroProfile applications, a Liberty Dashboard for organizing your projects, and Liberty dev mode functions, all from within your IDE.
Check out the YouTube video for a link:"demo:
Liberty Dashboard
The Liberty Dashboard keeps all of your Maven and Gradle projects organized and is automatically populated with projects that are configured to run with Open Liberty. With a few clicks, you can start and stop your app, run tests, and view test reports.
Dev mode
Liberty dev mode automatically picks up your code changes and deploys them to your running app, without having to restart the server. With Liberty Tools, your app starts in dev mode automatically, giving you all of the benefits of faster development.
MicroProfile and Liberty config support
Configuring your Liberty server is now simpler than ever with server configuration auto-complete, validation, and hover-over descriptions in your IDE.
Also, you can quickly develop MicroProfile applications with automatic code blocks, auto-complete, and real-time MicroProfile syntax validation.
Try it out
Installing Liberty Tools for Eclipse
For installation instructions, see Liberty Tools for Eclipse.
Using the Dashboard
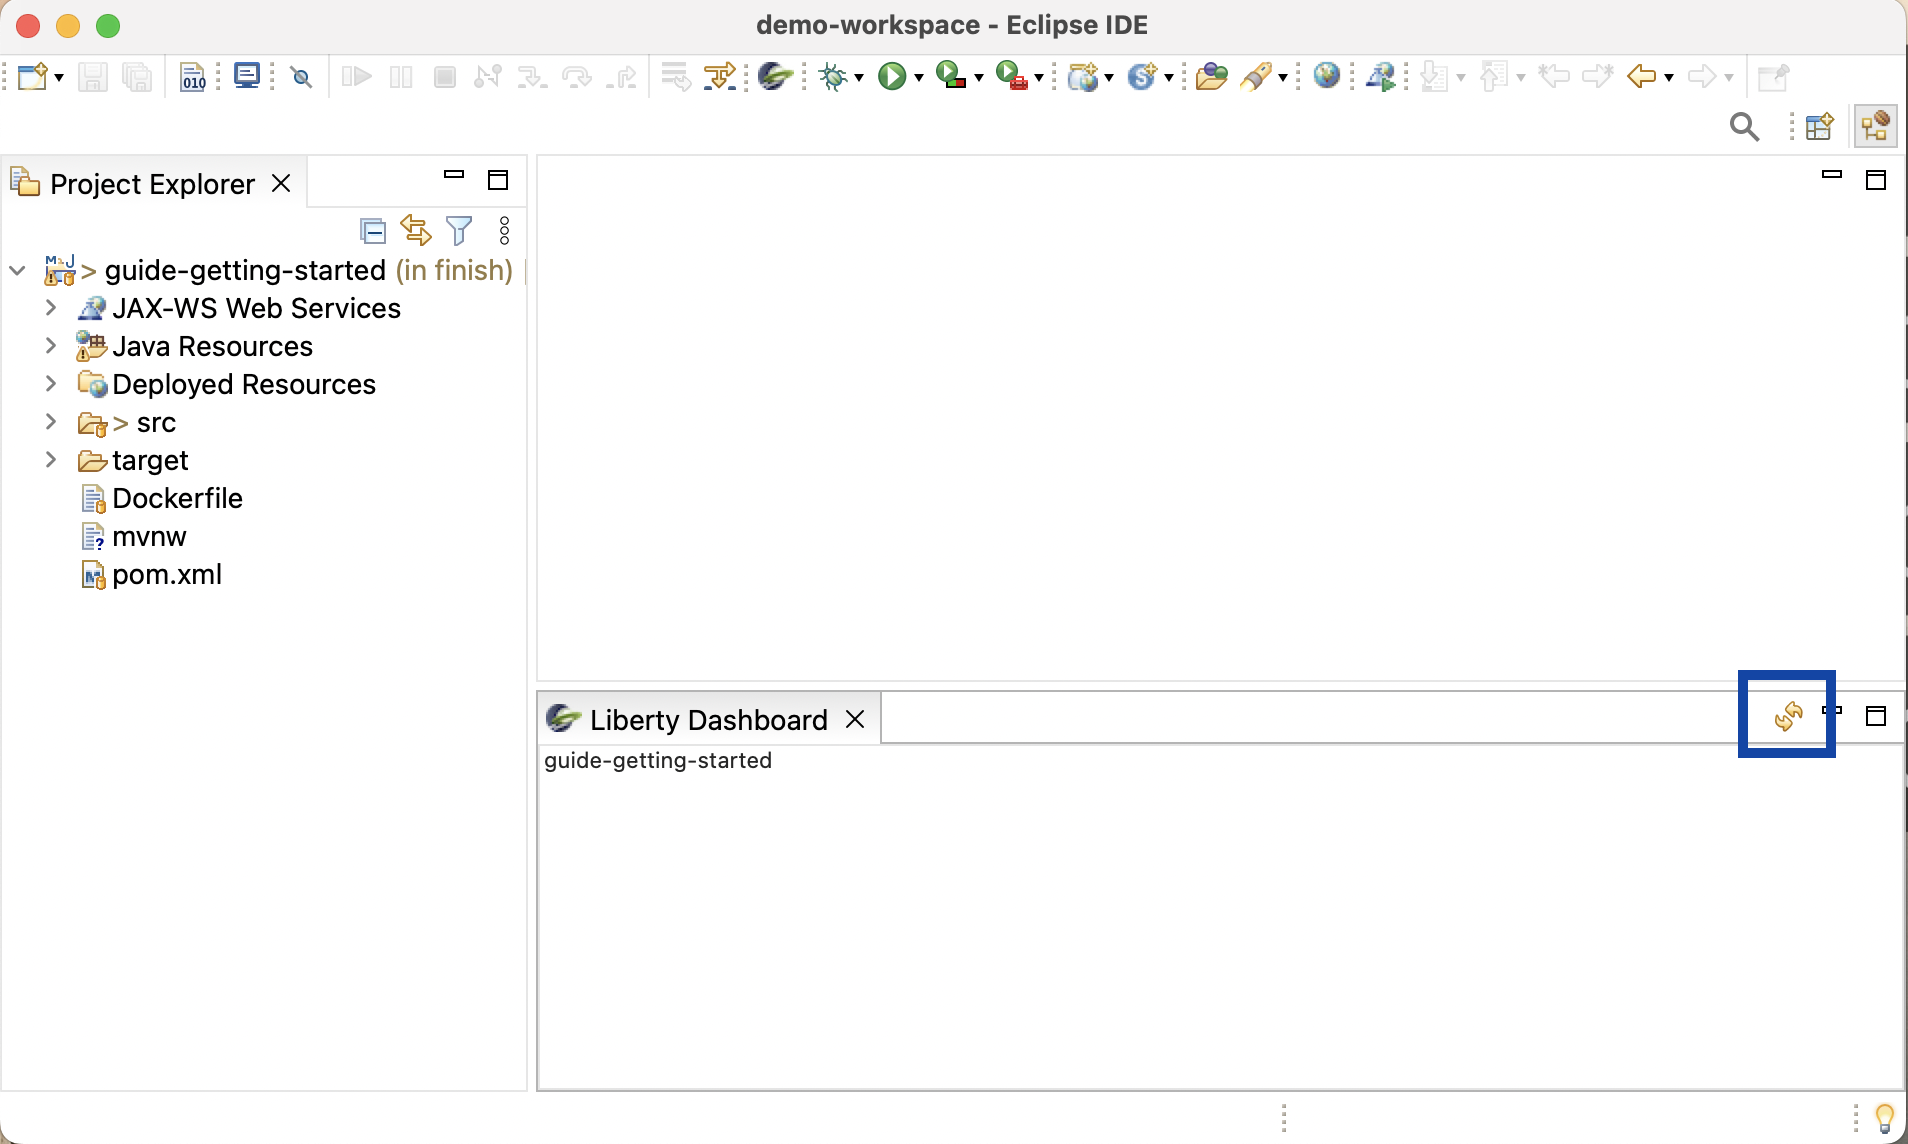
After you install the plug-in, look for the Open Liberty UFO logo in the menu. Click the icon to open the Liberty Dashboard tab:
The Dashboard automatically populates with any Maven and Gradle projects in your workspace that are configured to run with Open Liberty, with the server.xml file in the default location. If you do not have any apps in your current workspace, you can create a starter application and import. Once you import an app, refresh the Dashboard tab by clicking the refresh icon.
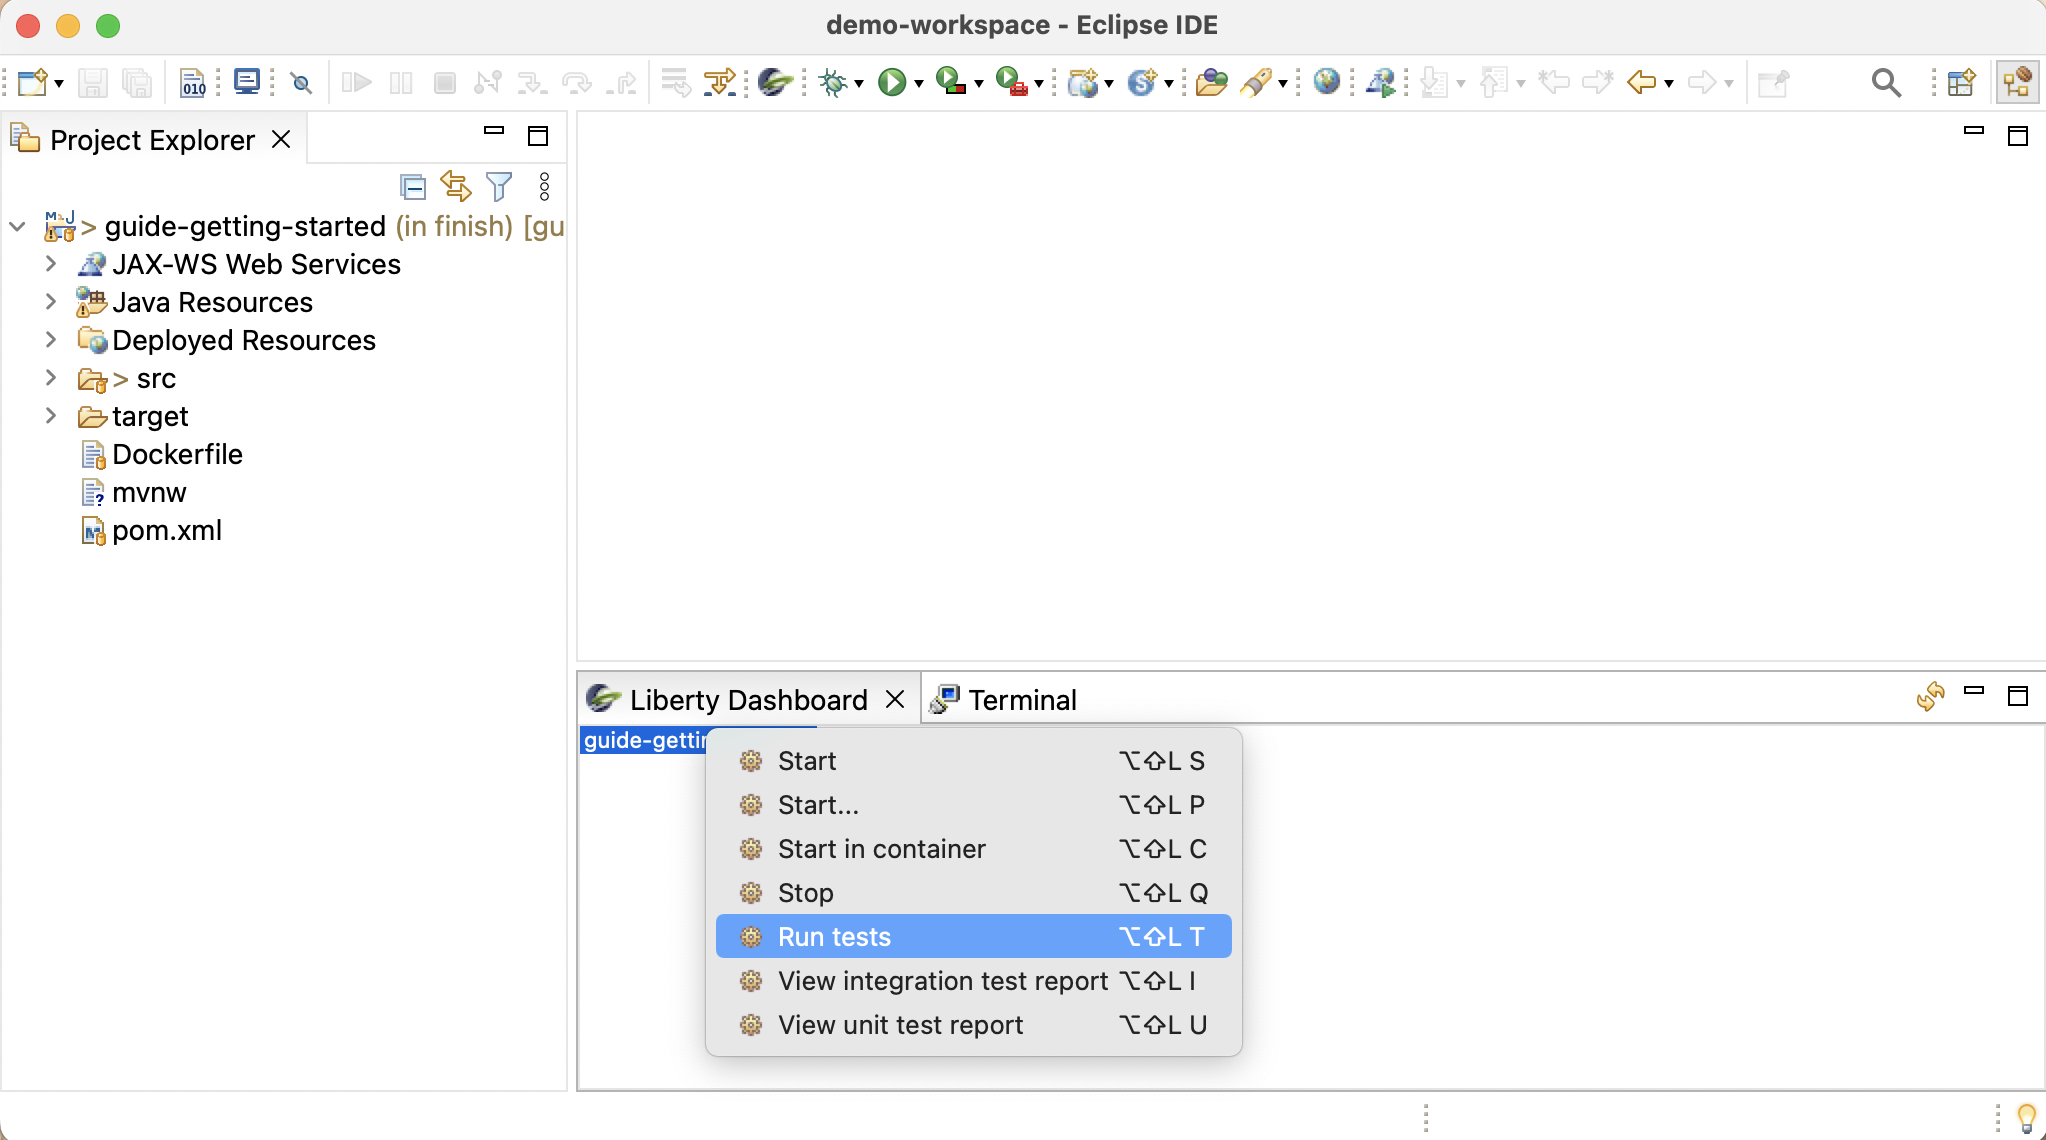
You should see your app listed in the dashboard. Right-click on the app and you will see a dropdown with a list of actions.

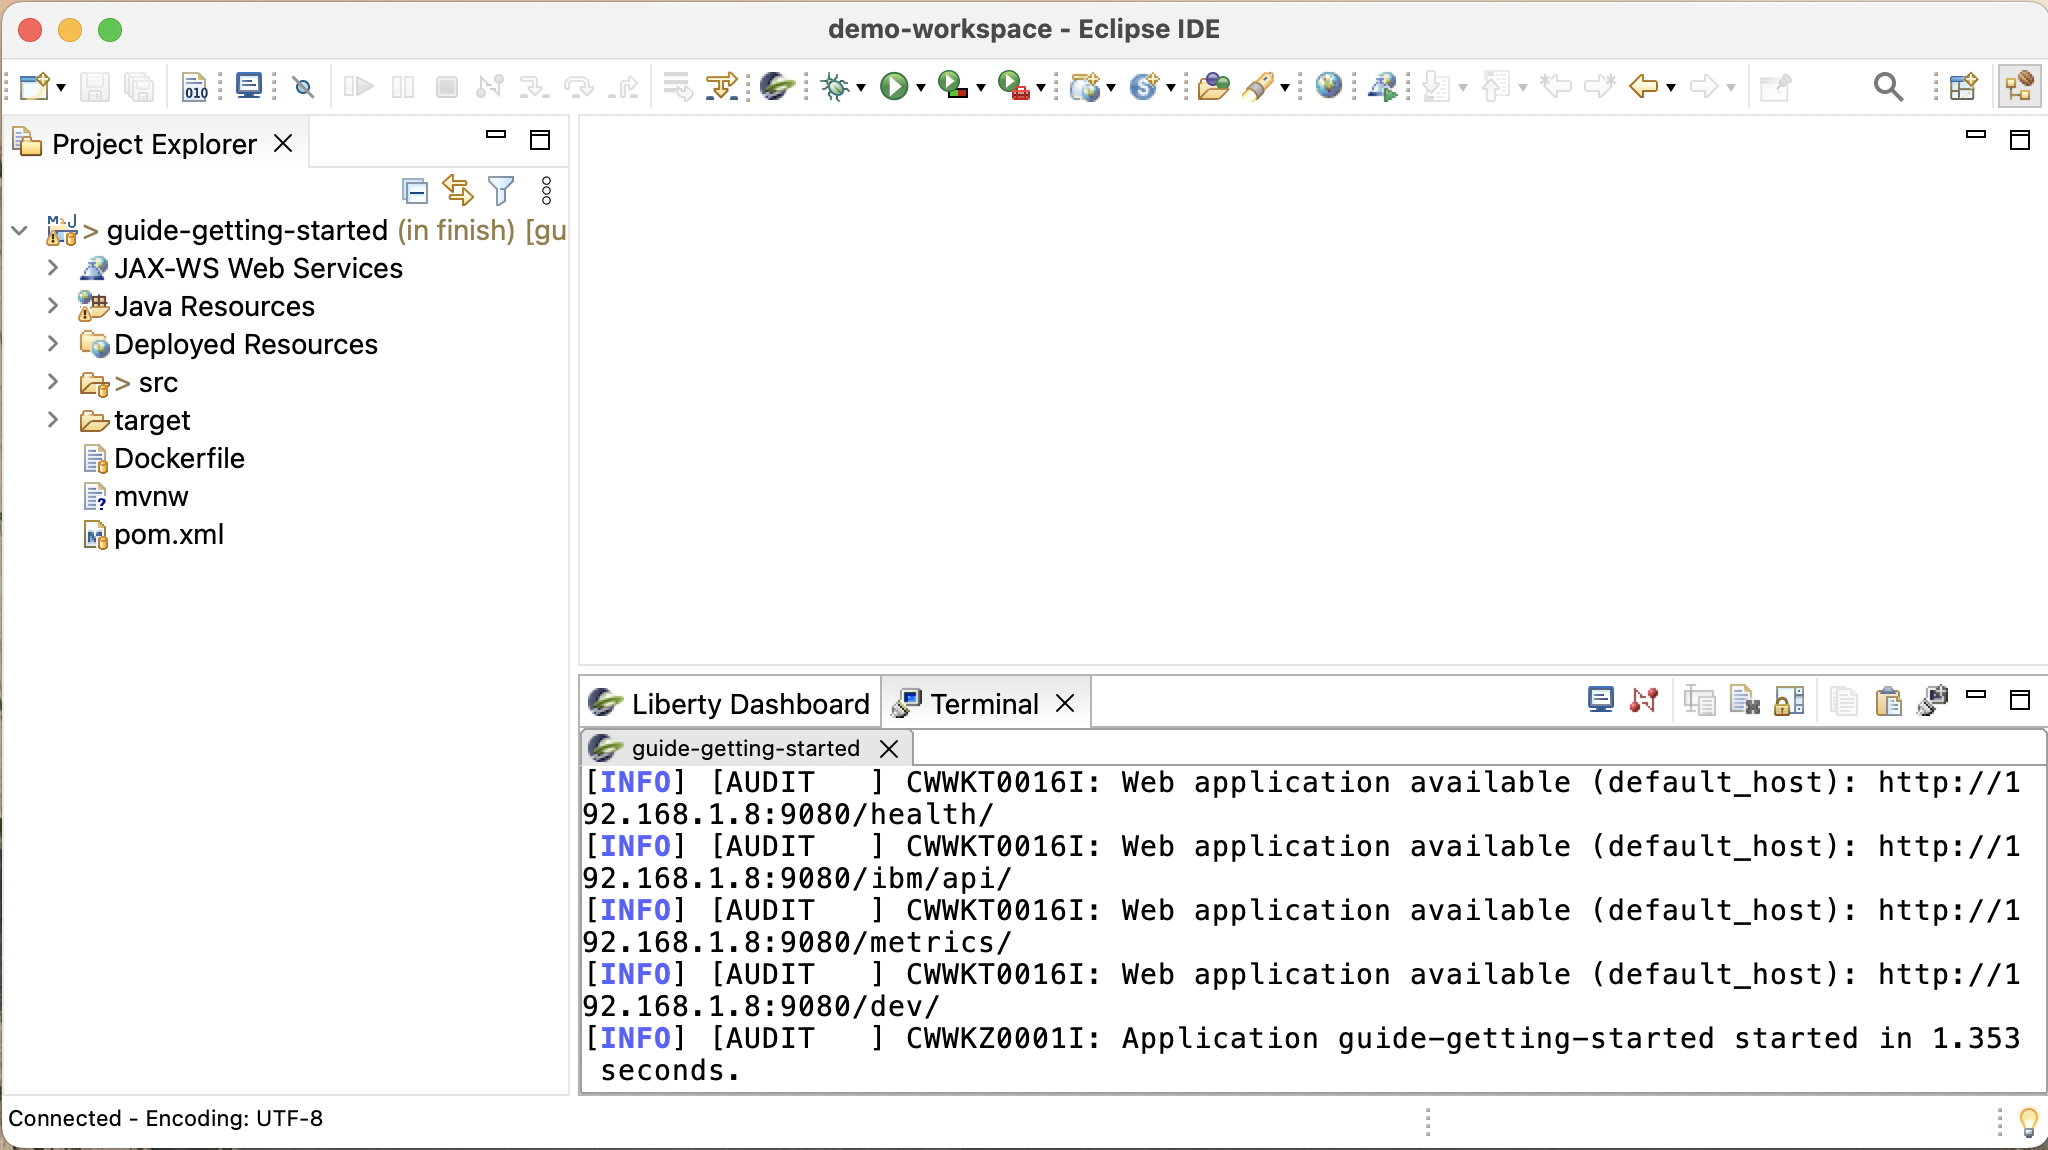
Select the Start action to run your app in dev mode.
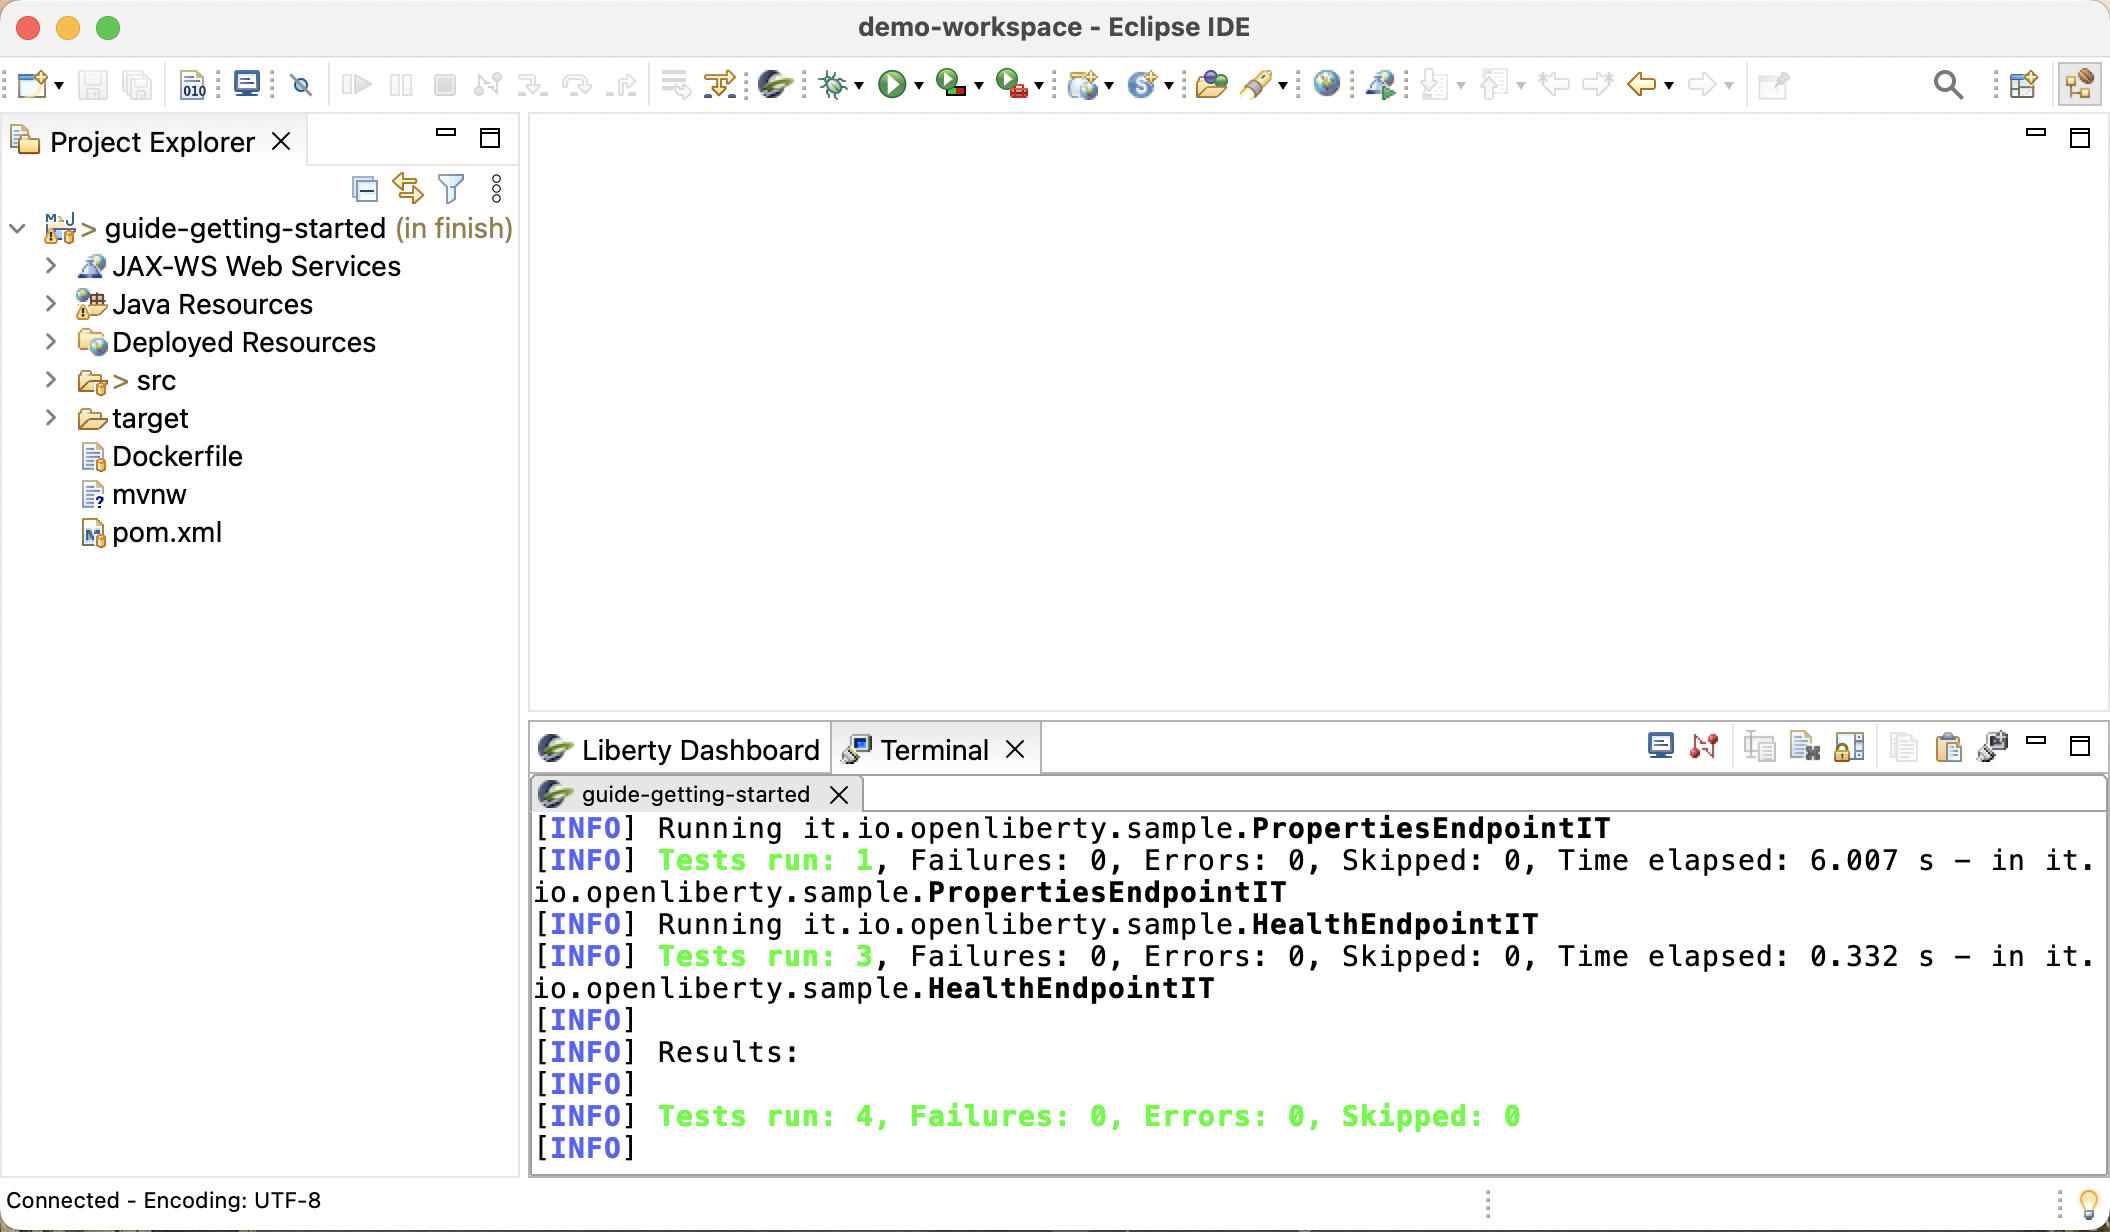
Once the app is running, right-click on the app in the dashboard again and select Run tests.
Any automated tests associated with the app are run:
Liberty Config Support
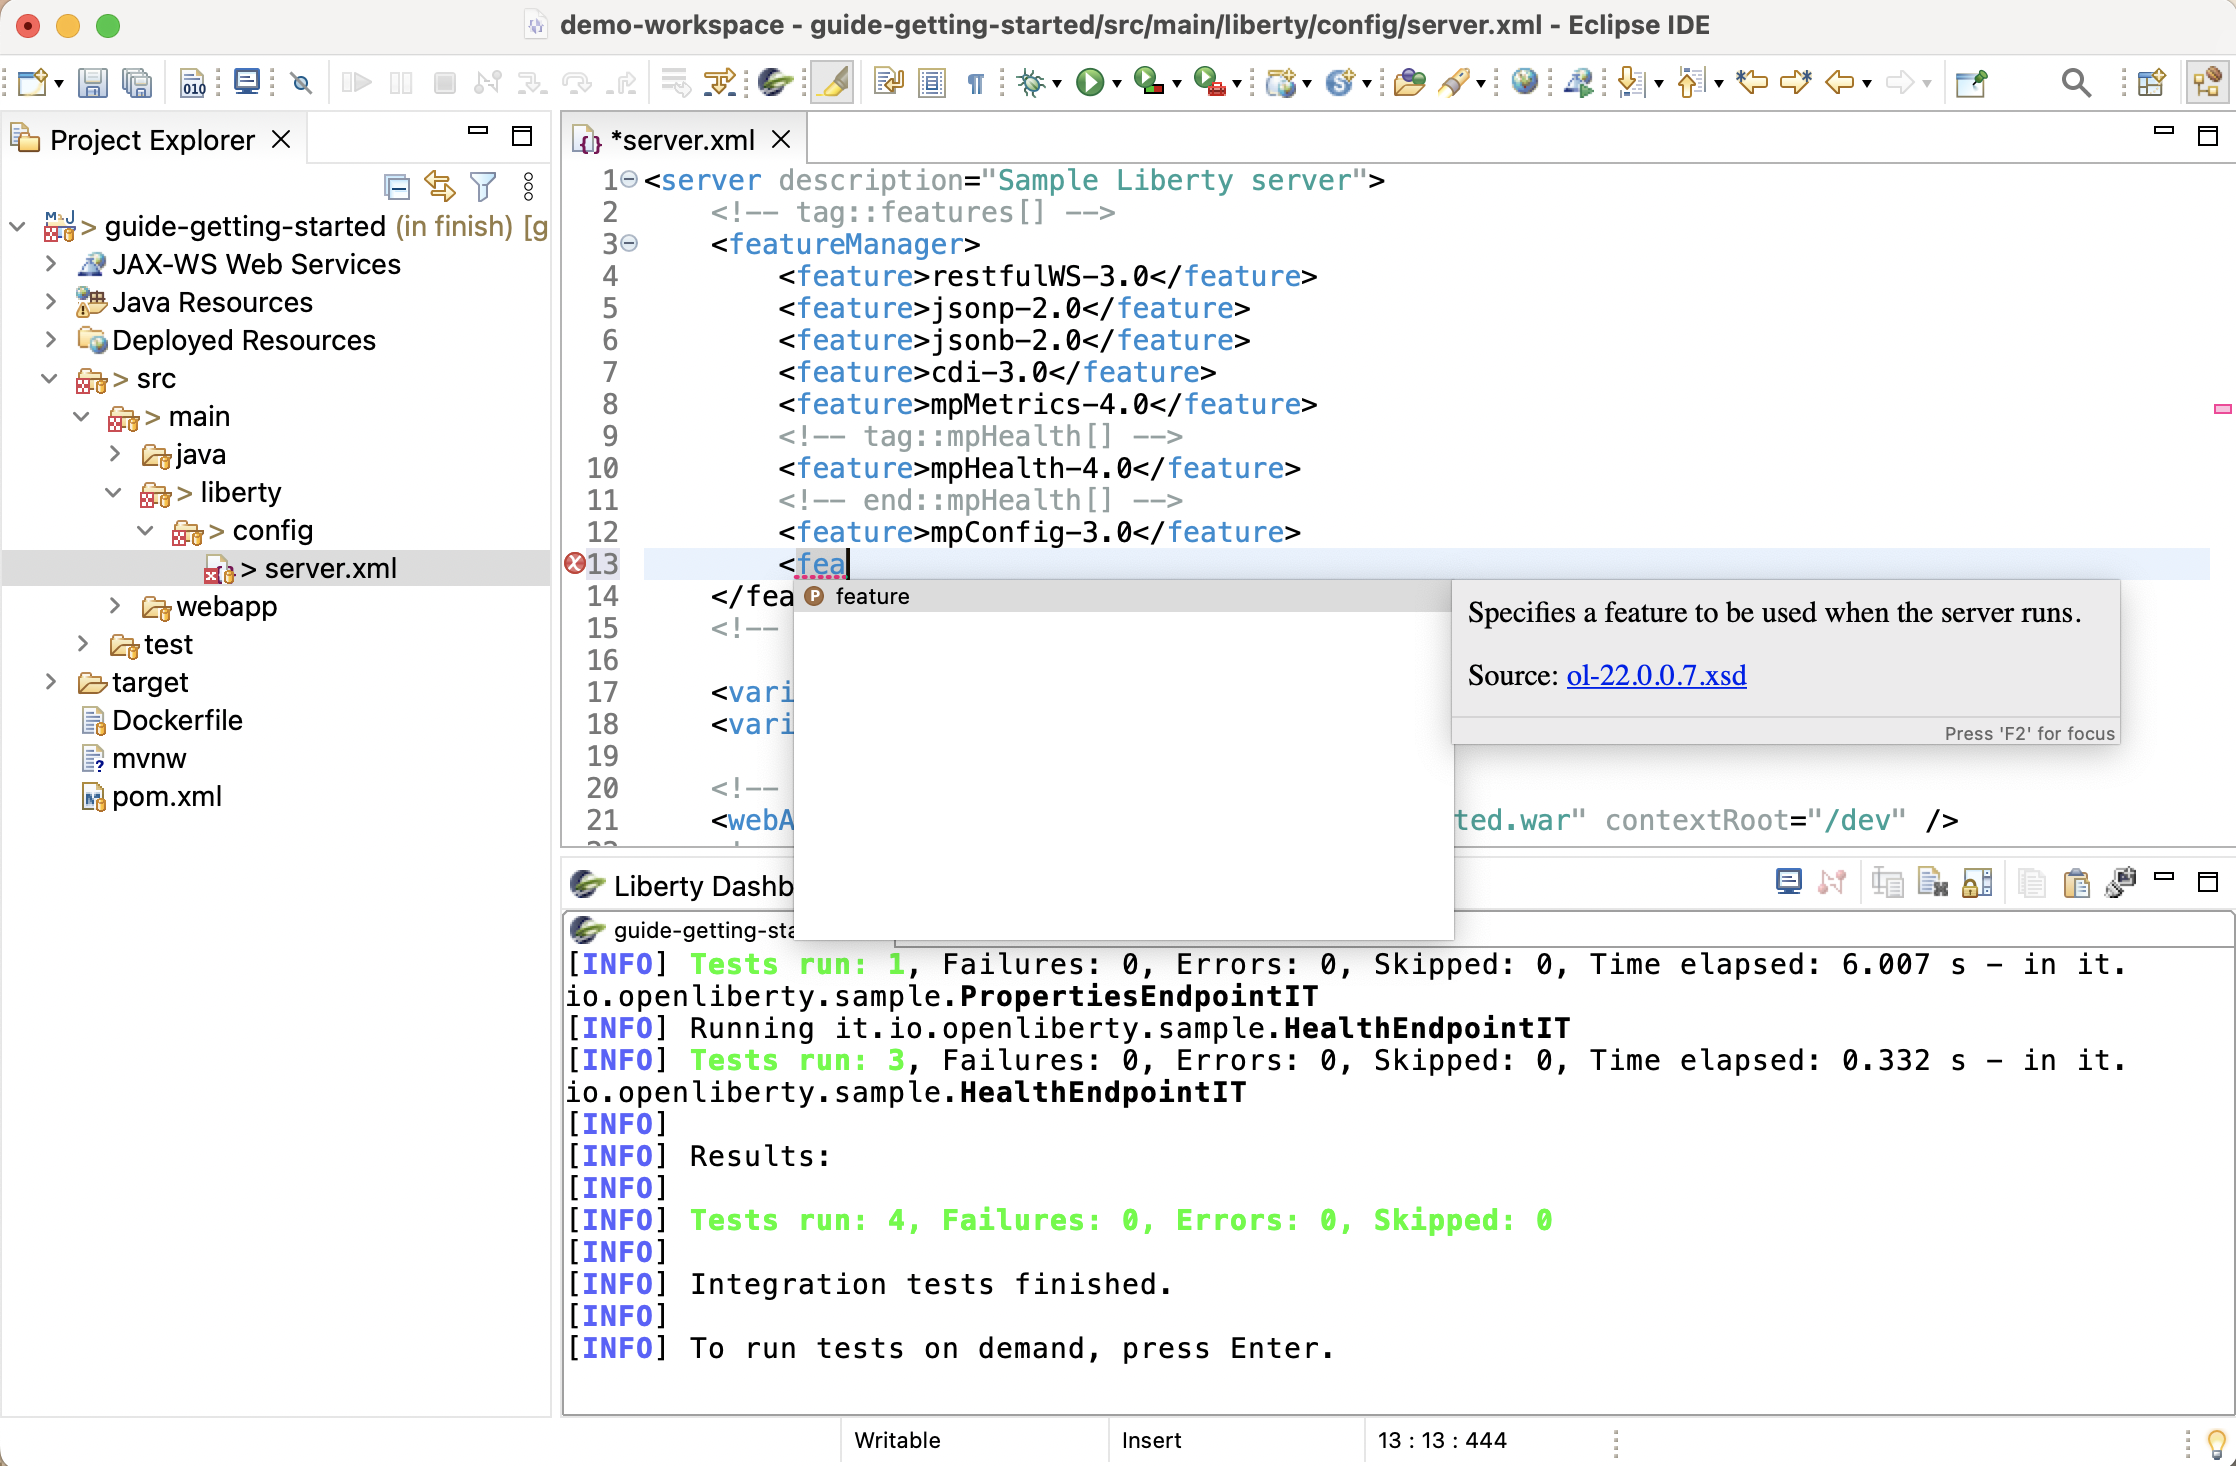
Open src/main/liberty/config/server.xml. Start adding a new feature to the Feature Manager list. You will see a Content Assist pop up menu with auto-complete options:
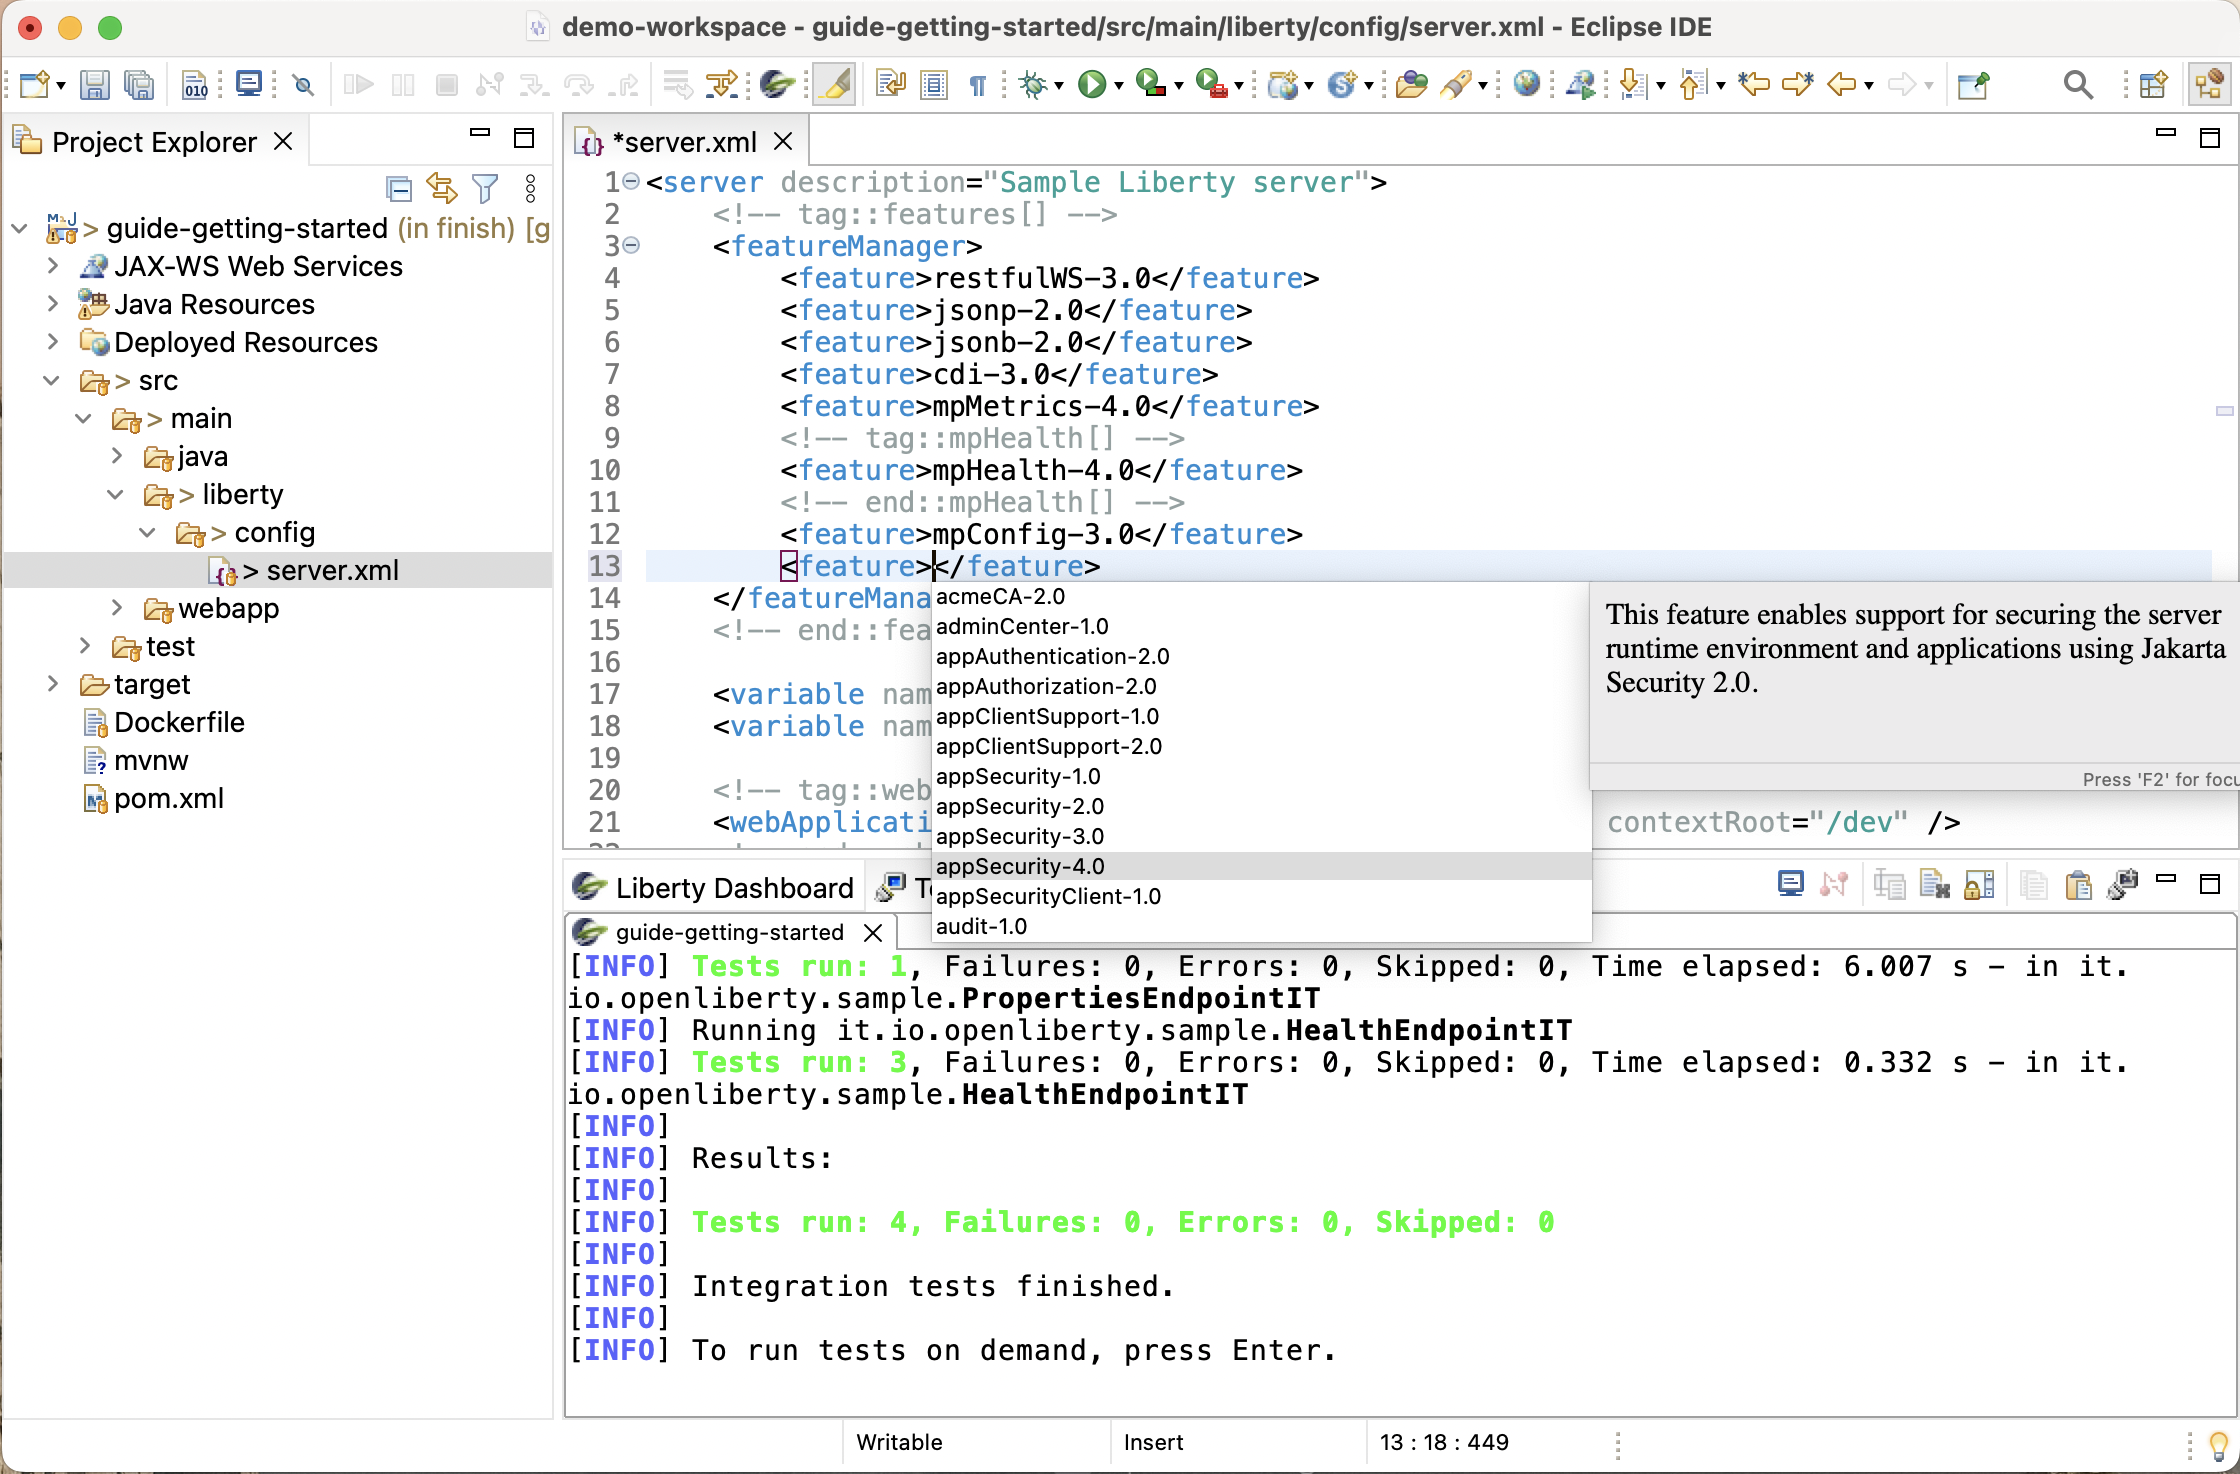
To get a list of available features and their descriptions, engage Content Assist by entering Ctrl+Space from within the feature configuration element:
Similar capabilities are available for many other Liberty config elements. Configuring your server is simpler than ever before.


